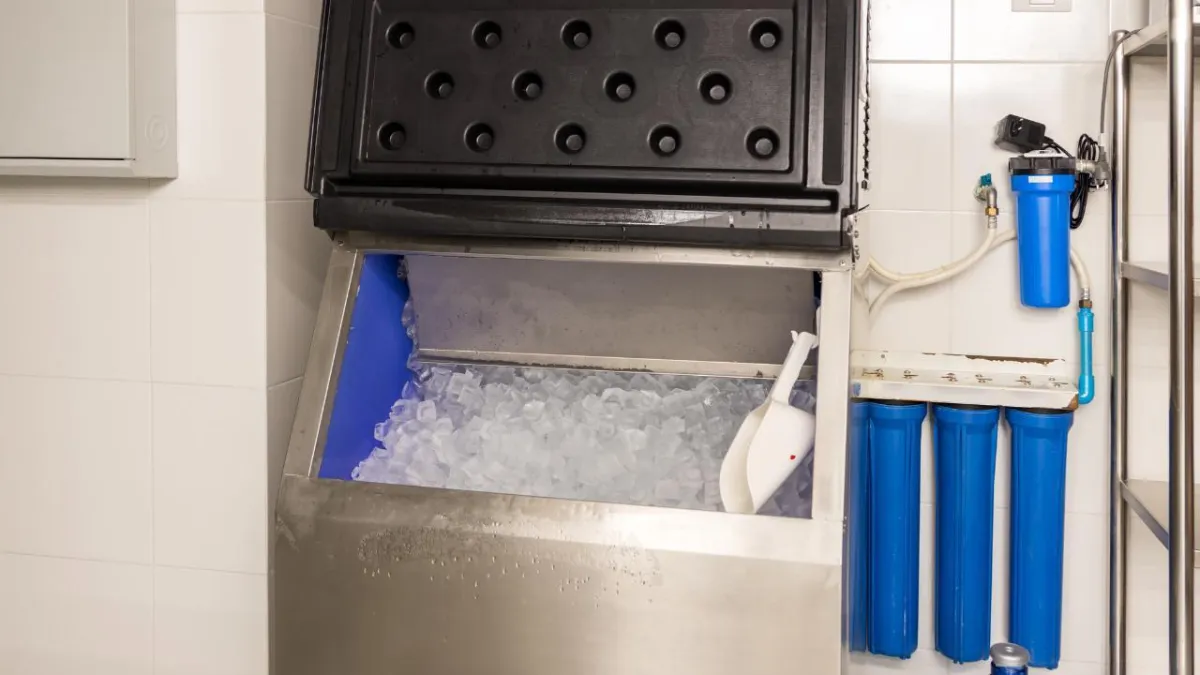
How to Troubleshoot a Leaking Ice Machine
When your ice machine starts leaking, it’s more than just a messy inconvenience—it can lead to water damage, wasted energy, and spoiled inventory if left unresolved. Whether you own a restaurant in downtown Cedarburg or rely on your home unit to keep drinks cold for gatherings, knowing how to troubleshoot the issue quickly can save time, money, and frustration.
In this post, we’ll walk you through the most common causes of a leaking ice machine and how to fix them—or when to call in a pro.
1. Start With the Obvious: Check for Loose Connections
One of the first things you should check is whether any of the water lines have come loose. These lines supply the machine with water, and if even one fitting is slightly out of place, it can result in a slow but steady leak.
Inspect the water inlet line and look for drips around connection points.
Check the drain line for clogs or signs of backflow.
Tighten any fittings gently—don’t overdo it, or you might crack the plastic housing.
If the leak stops after adjusting the connections, great! If not, it’s time to go deeper.
2. Examine the Drain Line for Clogs or Blockages
Ice machines typically use gravity to drain excess water. When the drain line becomes clogged—usually with ice shavings, mold, or mineral deposits—it can force water back into the unit, causing overflow.
To check for blockages:
Turn off the machine and unplug it.
Locate the drain and disconnect the hose.
Use a pipe cleaner or a small plumbing snake to clear out any debris.
Be sure to flush the line with warm water before reconnecting everything. This often clears up leaks related to poor drainage.
3. Look for Cracks in the Water Pan or Internal Components
With constant exposure to freezing and thawing, internal parts like the water trough or collection pan can develop cracks over time. These cracks may not be visible at first glance, but they can slowly leak water into the base of the unit or onto the floor.
You may need a flashlight to inspect internal components closely. If you do find a crack:
Turn off the machine and avoid using it until it’s repaired.
Order replacement parts directly from the manufacturer.
Some parts can be replaced easily with a screwdriver, while others might require professional help.
4. Inspect the Water Inlet Valve
The water inlet valve controls how much water flows into the machine. If this valve is stuck open or malfunctioning, it can cause water to continuously enter the machine—even when it doesn’t need it.
Signs of a faulty inlet valve include:
Water pooling in the ice bin even when no ice is being made
A humming or buzzing noise when the machine is idle
Consistently wet floors around the machine
In this case, replacement is often necessary, as inlet valves are not typically repairable.
Case Study: Restaurant Owner in Cedarburg
Julie, who owns a small café on Washington Avenue, noticed a puddle forming under her ice machine every morning. At first, she assumed it was from melted ice, but when it persisted, she followed these troubleshooting steps. After checking the lines and clearing the drain, she discovered a cracked collection tray. She ordered a replacement and avoided a costly service call—proof that a little DIY can go a long way.
Know When to Call the Experts
If you’ve tried the basics and your machine is still leaking, it might be time to contact an HVAC specialist. Leaks can sometimes stem from internal freeze-ups, compressor issues, or plumbing problems that require more advanced tools and knowledge.
For Cedarburg WI residents looking for help, Champion Air Mechanical offers expert ice machine repair and HVAC solutions. A quick search for HVAC services near me will bring them right to your door with the tools and expertise to fix the issue fast.
Don’t wait for a small leak to become a big problem—troubleshoot early, and call in help when needed.


